Prior to doing the In-Place Upgrade Install (Repair Install) of Windows, it is a good idea to download any network adapter drivers for your system. The drivers should be downloaded from the vendor support site (HP, Dell, etc.) or from the motherboard support site if the system is custom built (Gigabyte, ASUS, etc.). If you have a 3rd party wireless network adapter you installed yourself, make sure you have the drivers for it downloaded from the manufacturer of the wireless device. Save the drivers on a flash drive or external hard drive for use after the clean re-install so you can use your network adapter(s) to obtain Windows updates and drivers.
You cannot upgrade install with a version of Windows that is older than your currently installed version. If you have Service Pack 1 (SP1) or Service Pack 2 (SP2) installed, for instance, you will need a Windows installation disc that has SP1 or SP2 integrated into it. If you have a Windows installation disc without SP1 or SP2 integrated and you need to upgrade install on your system, you can also remove SP1 and/or SP2 from the system prior to doing the upgrade install.
- Backup any important data to an external hard drive or a flash drive.
- Gather your license keys for software and for Windows to allow easy use in re-installing or activating Windows and/or programs on your system. Belarc Advisor can help with some license keys, but if your system was pre-built, the license key for Windows will not be the same as that on your sticker. If your sticker is not readable, contact your vendor for support.
InfoFor Vendor systems by Dell, HP, etc.: The sticker with the OEM license key will be on the underside of a laptop PC. The sticker with the OEM license key will be attached to the side of a desktop PC.
For a system pre-built elsewhere, you may find the sticker on the CD or DVD sleeve that the OEM disc came in.
WarningYou must use the OEM license key on the sticker for a upgrade install if you own a Vendor system. The key given by Belarc Advisor will not work for such systems because that key was automatically installed by the vendor at the factory and can only be installed by that vendor.
Programs should not be affected by the In-Place Upgrade Install (Repair Install), but it is still a good idea to have easy access to license keys for programs in case the unforeseen happens and the In-Place Upgrade Install (Repair Install) leaves Windows in an unbootable state.
- Start Windows normally and log in.
- Remove the current system from any digital license software, i.e. iTunes and Amazon Unbox Player.
- Insert the Windows Installation Media and Run setup.exe.
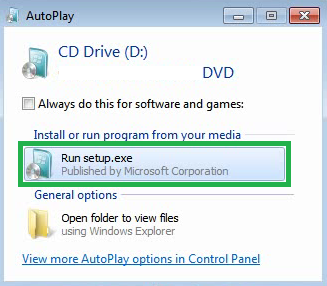
- For the UAC dialog, enter your administrator password or click Yes to continue.

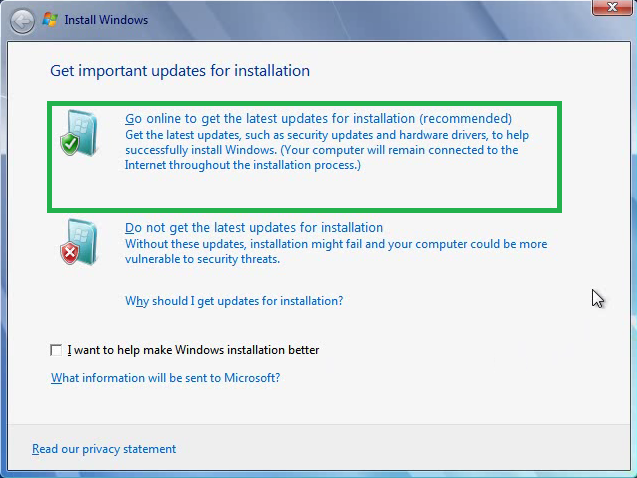
- Go online to get the latest updates for installation (recommended) if you have reliable internet.
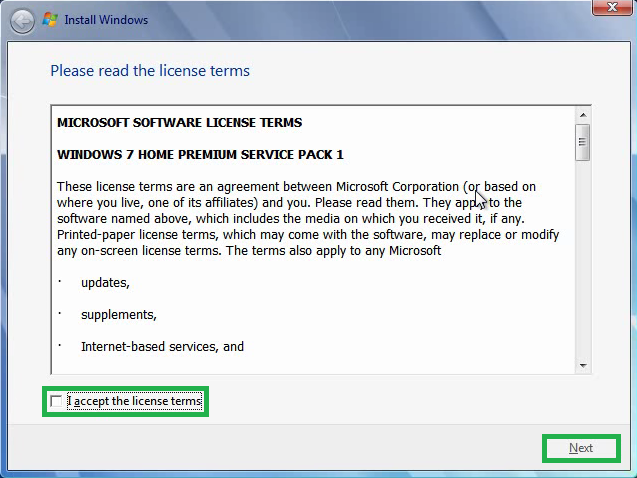
- Put a tick in I accept the license terms (after reading them) and click Next.
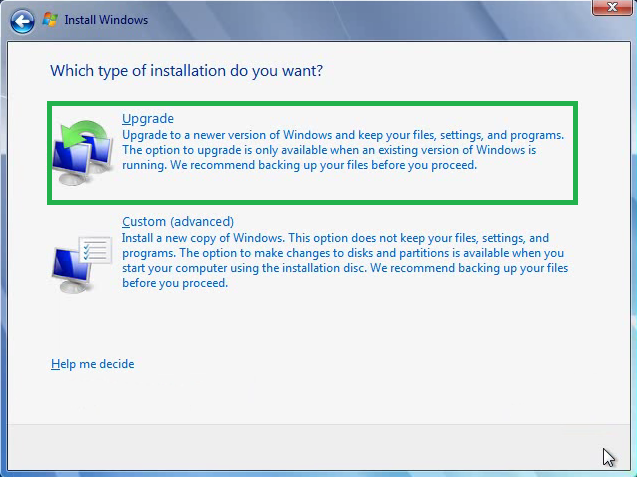
- Choose Upgrade.
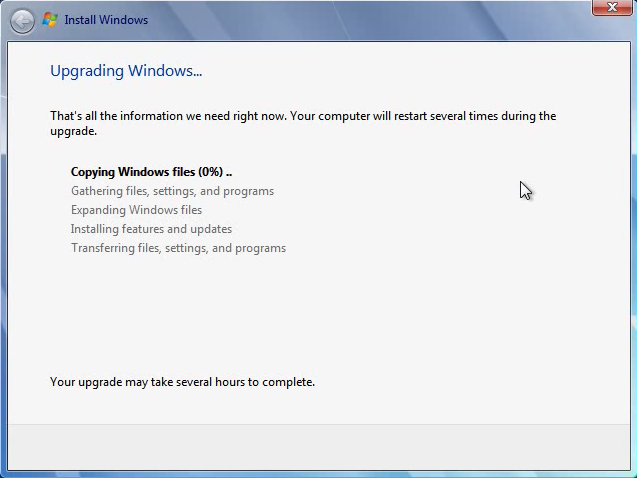
- Windows will begin the installation process. The installation should appear as in the below image:
- If you see the following two images, choose Windows Setup and then Windows 7.
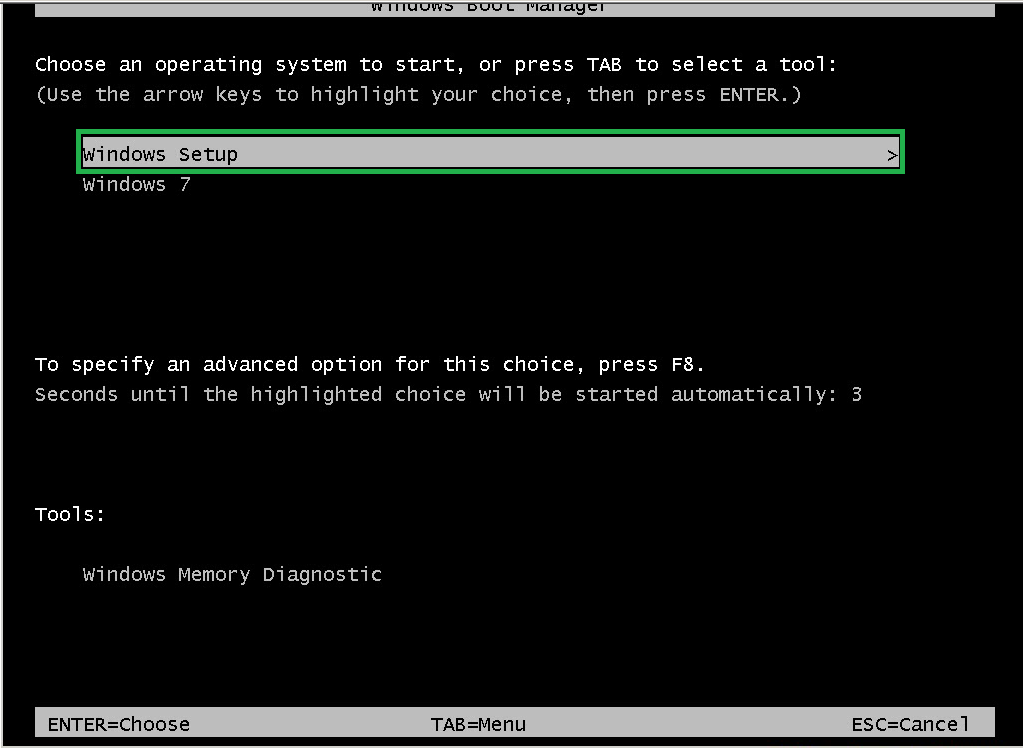
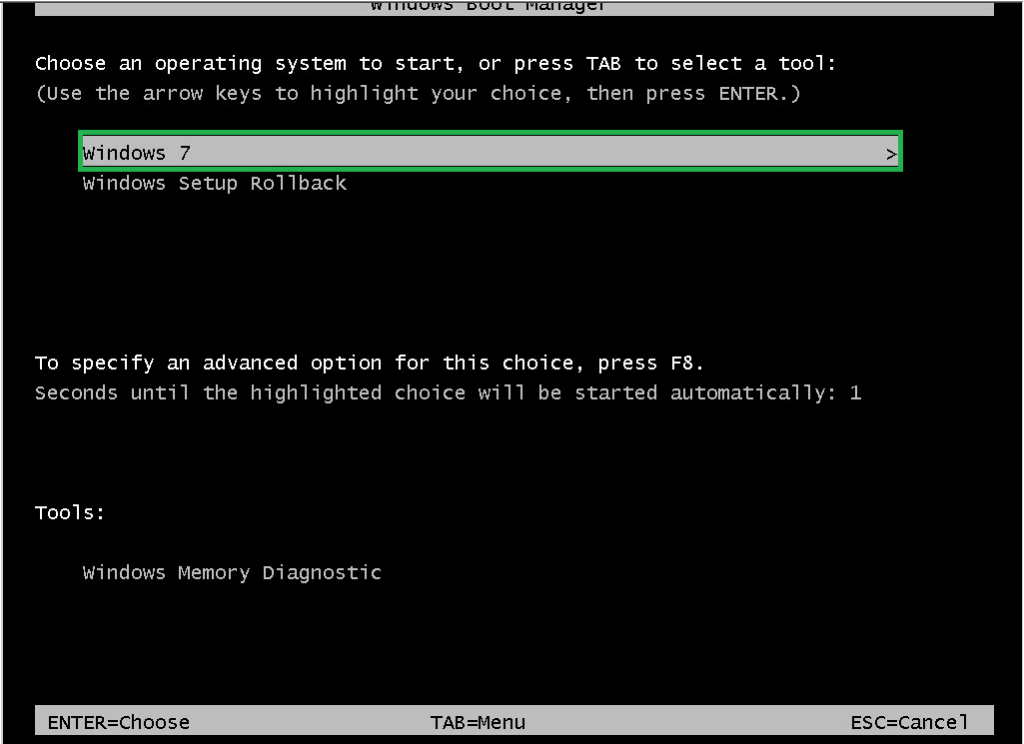
Once Windows is installed, follow the on screen instructions to set it up.
Once you are ready, install drivers and Windows Updates in this order:
- Install the following drivers first. Obtain drivers from the vendor (HP, Dell, etc.) or from the motherboard support site (Gigabyte, ASUS, etc.) and display card manufacturer (NVIDIA, AMD, etc.) if custom built.
- Network drivers that you downloaded and saved externally prior to starting the upgrade install.
- Audio Driver.
- Display Card (Graphics Card) Driver.
- Chipset Drivers.
- USB Drivers.
- All other drivers. Also, Identify and Fix Problem Devices
- Network drivers that you downloaded and saved externally prior to starting the upgrade install.
- Windows Updates should be installed after drivers. Check optional updates for a list of any missing drivers. Try to find those drivers from your vendor or manufacturer rather than installing through Windows updates if possible. Install all important updates first. Then install optional updates that provide security or stability improvements to the system.
- Activate Windows as soon as you feel the system is running as it should. This is the last step to prevent multiple activations in a short period of time if you find you need to clean install or upgrade install more than once within a few days or weeks of each other. Sometimes activating multiple times in a short period of time can lead to Microsoft blocking further easy activations in case the key has been compromised; if this happens to you, refer to the Activating Windows link given for steps to activate using the telephone.
